|
I spent much of today working on the new model, and Dr. Bohl, Sarah, and I began to explore incorporating electricity into the model to add some interesting functionality. I can't go into detail about the specific additions, since they are novel enough that they will likely be patented. However, these models will likely be on sale in the near future, so if you're curious, they will eventually appear in the new models section of this website: https://www.spinestud.com/. Dr. Bohl also showed me how to do a simple surgery with one of the Spine STUD models today! This was the first model surgery I've tried, and I found it fascinating. The photo below shows the end result of the surgery. 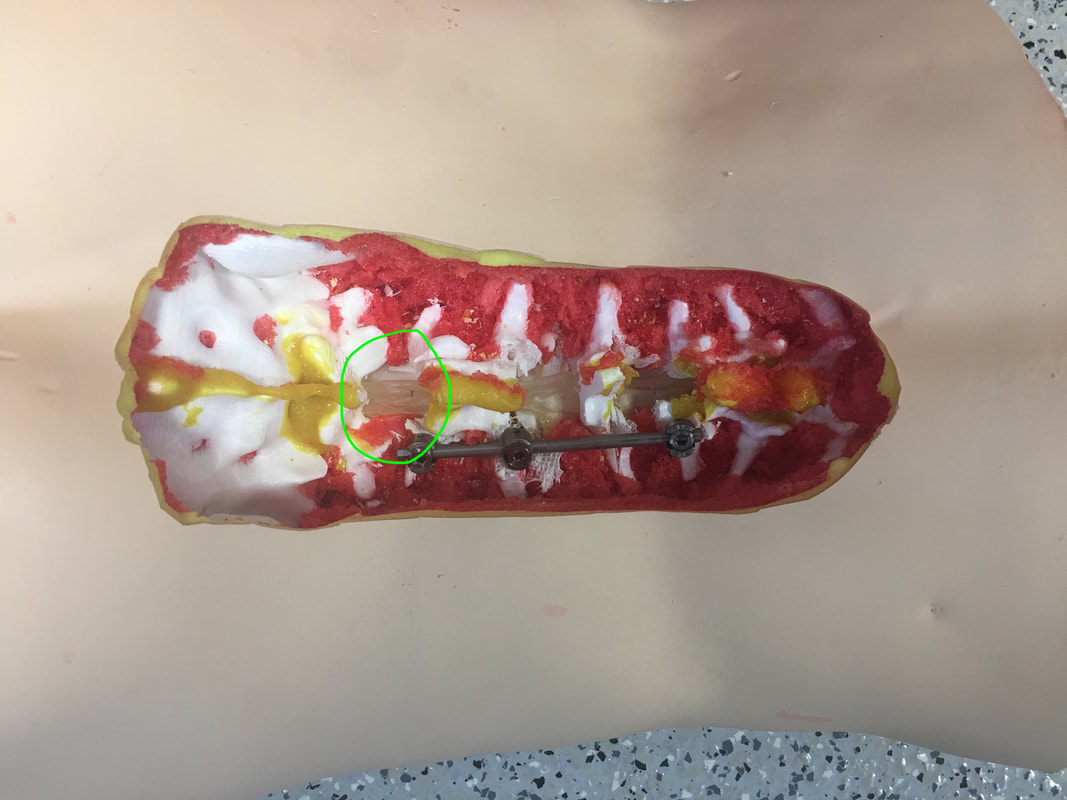 This surgery involves using large screws to secure a titanium bar to the spine to keep the spine straight. This general technique is used to treat a wide range of spinal deformities, including scoliosis. The first step in the surgery involved using the tool below to tear away the outer bone layer in a very specific location on a vertebra.  The outer layer of bone is much harder than the inner layers, so I had to expose the inner layers before making a hole for the screw. The mechanical advantage that the tool above gives allowed me to bite into a hunk of the hard outer bone layer and rip it off. It feels almost barbaric, but since a screw will be inserted into the location where the tool is used, it doesn't actually cause any extra long-term damage. One way in which the models are highly realistic is that the outer layer of the plastic is much denser than the inner layers, similar to real bone. 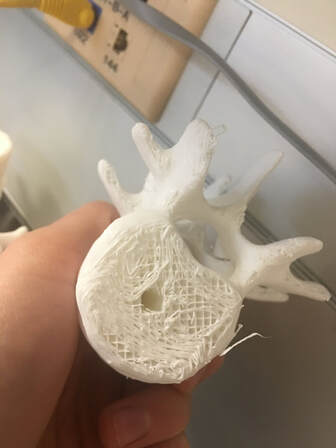 Once the softer inner bone is exposed, it's time to gently drill a hole into which the screw will be inserted. This is done with the tool below. 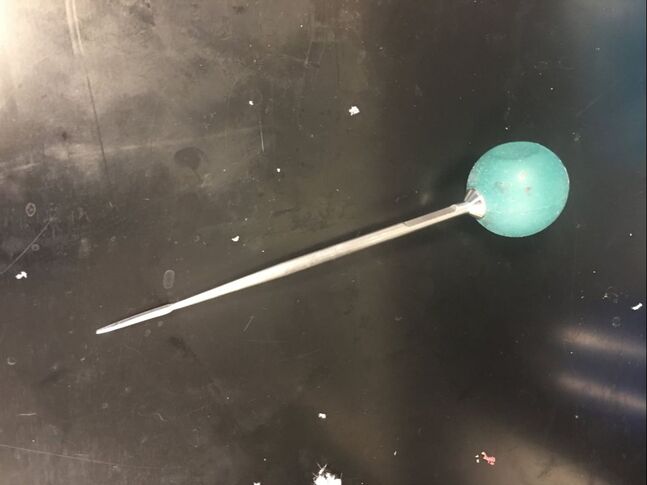 I held the ball on top and slowly turned it back and forth while pressing into the soft bone to make a 40mm deep hole. This is a very precise process, because the tool must be aimed in a very specific direction to avoid unnecessarily damaging hard outer bone layers. I also had to avoid puncturing the fecal sac, which is a long sac that runs down the spine filled with fluid. The models simulate the fecal sac with a flexible tube that can be filled with water that runs down the length of the spine, as can be seen in the photo. I used detailed anatomical landmarks to aim the tool correctly, and the model is realistic enough that all these landmarks are present on the bone. After the hole is deep enough (the tool above has a convenient ruler on it), I had to feel around the inside of the hole with the tool below to make sure that I hadn't exited the soft bone layer. 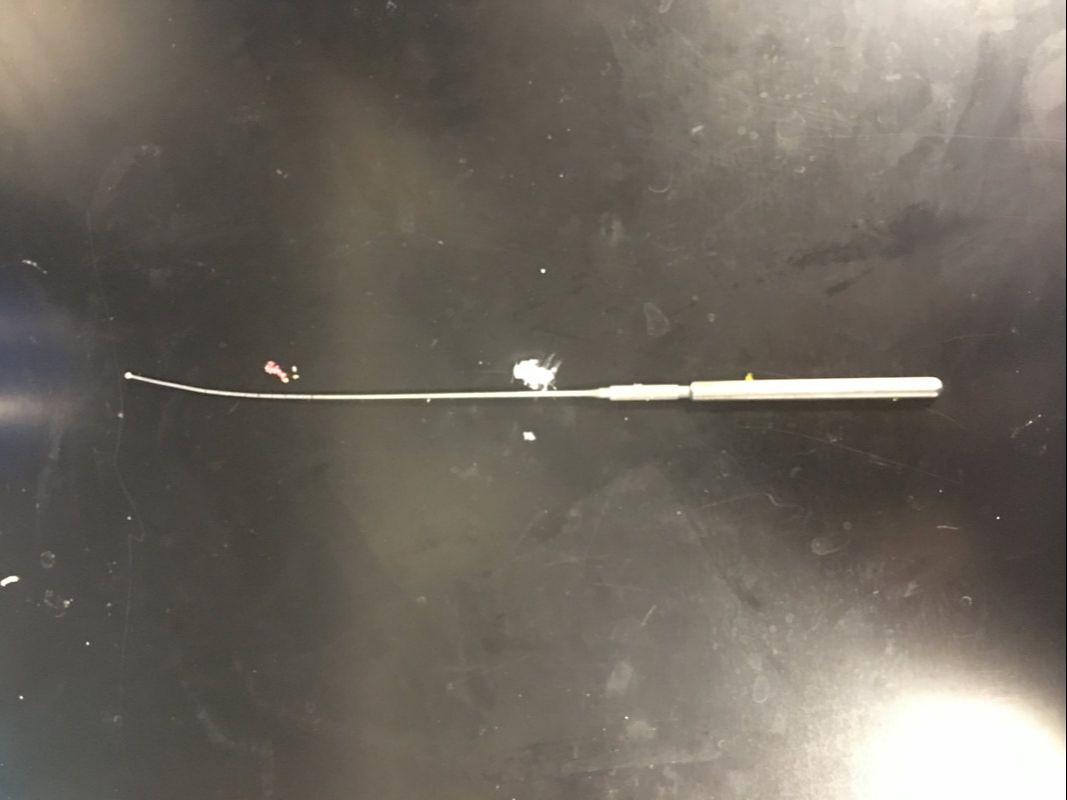 This tool has a ball on the tip, which reduces the risk of damage to internal organs if I made the hole incorrectly. If I feel anything soft, it means I've drilled through the bone, which means that I could be at risk of piercing arteries or other organs. Fortunately, I didn't feel any soft tissue, so I proceeded to use the tool below to insert the screw. 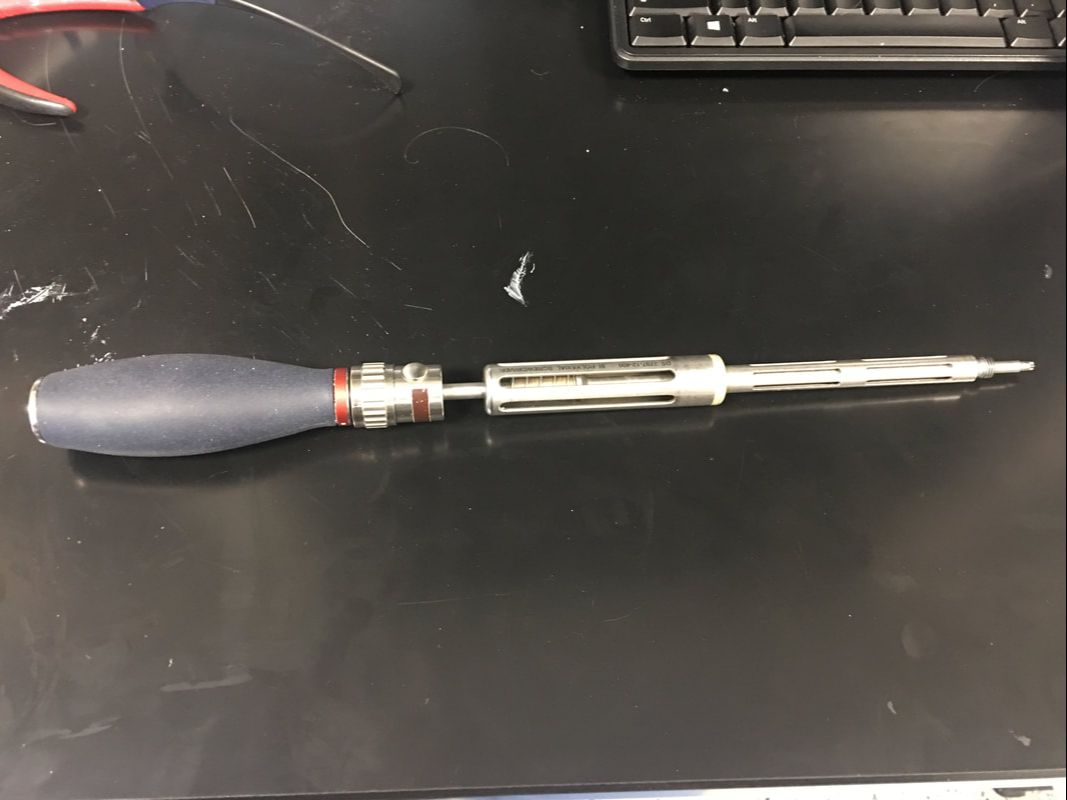 I had to be very careful when putting in the screw as well, because it's even more important not to enter the soft tissue when putting a screw in. I had to keep the tool aimed very precisely as I screwed, and I used the cylindrical grip in the middle of the tool to make fine adjustments to the screw's depth. Eventually Dr. Bohl said that I was far enough down to use the top handle, so I pressed down hard and turned the screw with force. It's amazing how much force is required in a medical procedure as precise as spine surgery! Below is an image of the type of screw that I used. Amazingly, the mean price of such a screw alone is over $800!  I repeated the process above on another vertebra to put in another screw. Once the other screw was in, the model was ready for a rod to be placed in the screws. Titanium rods are used to correct spine disorders by providing additional structure to the spine, and they stay in for the patient's entire life. Unfortunately, the rigid rods restrict mobility somewhat, but a patient's mobility with rods in is almost always superior to their mobility with a severe spinal deformity such as scoliosis. Each person's spine is shaped slightly differently, so I had to bend the titanium rod to the correct shape using the tool below, which is known as a French bender. 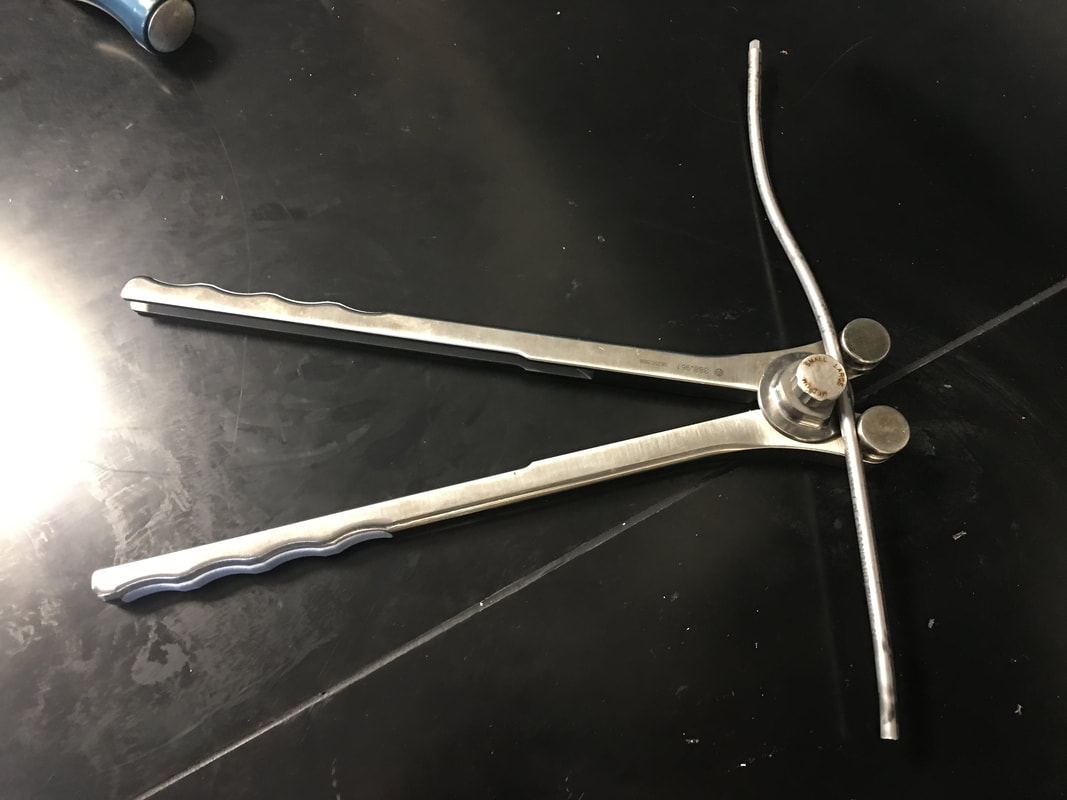 After bending the rod and placing it on top of the screws, which have special slots into which a rod can be placed, I had to secure the rod in the proper position. To do this, I used the tool below. 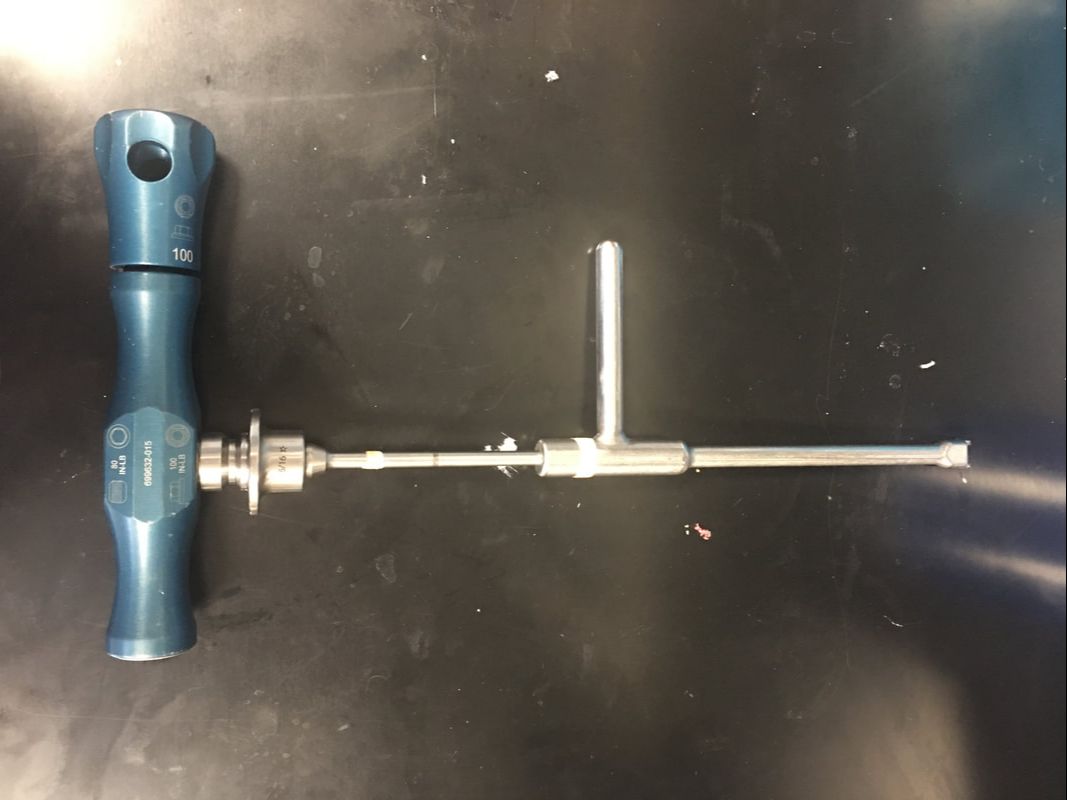 This tool has two handles, each of which I turned in the opposite direction. However, each handle is connected to a different rod, so the torque applied on the top handle tightens the top of the screw around the bar, and the bottom handle keeps the screw in place to prevent it from ripping out of the bone. The device is designed to automatically release when it would require 80 lbs of torque to continue tightening the rod onto the screw, so after I reached the 80 lb threshold, the surgery was complete. Of course, in a real surgery, several more steps would be necessary, including closing the incision, but this was the main part of the surgery. Overall, I found the wide variety of tools used in this surgery alone fascinating. Unsurprisingly, there are many other tools that Dr. Bohl knows how to use. In fact, he says that he has used every tool in the image below many, many times. 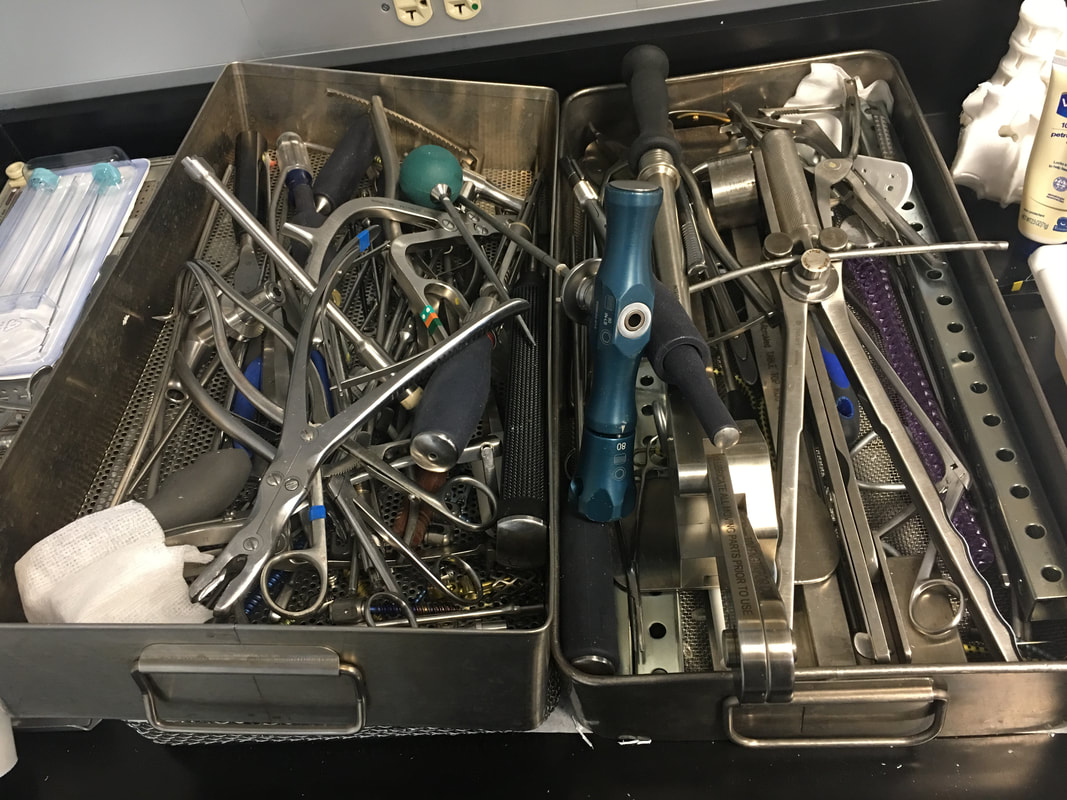 One thing I noticed as I was doing this surgery on the model is that there is a tremendous amount of physics involved in surgery. Through tools from the French bender to the mechanical torque detector, mechanical engineering allows the surgeon to perform maneuvers they never could with their hands alone.
0 Comments
Leave a Reply. |
Jeremy MahoneyI'm a high school student at Maumee Valley Country Day School, and I'm currently doing a neurosurgery-focused independent study at Barrow with Dr. Michael Bohl. ArchivesCategories |
 RSS Feed
